I needed a sold-out SDWire board, so I learned how to fab PCBs
I needed an SDWire board but couldn't buy one due to imported component shortages. So I learned how to fab PCBs with components made in the USA.
Table of Contents
👋 My name is Leigh, and I'm the founder of PrintNanny.ai.
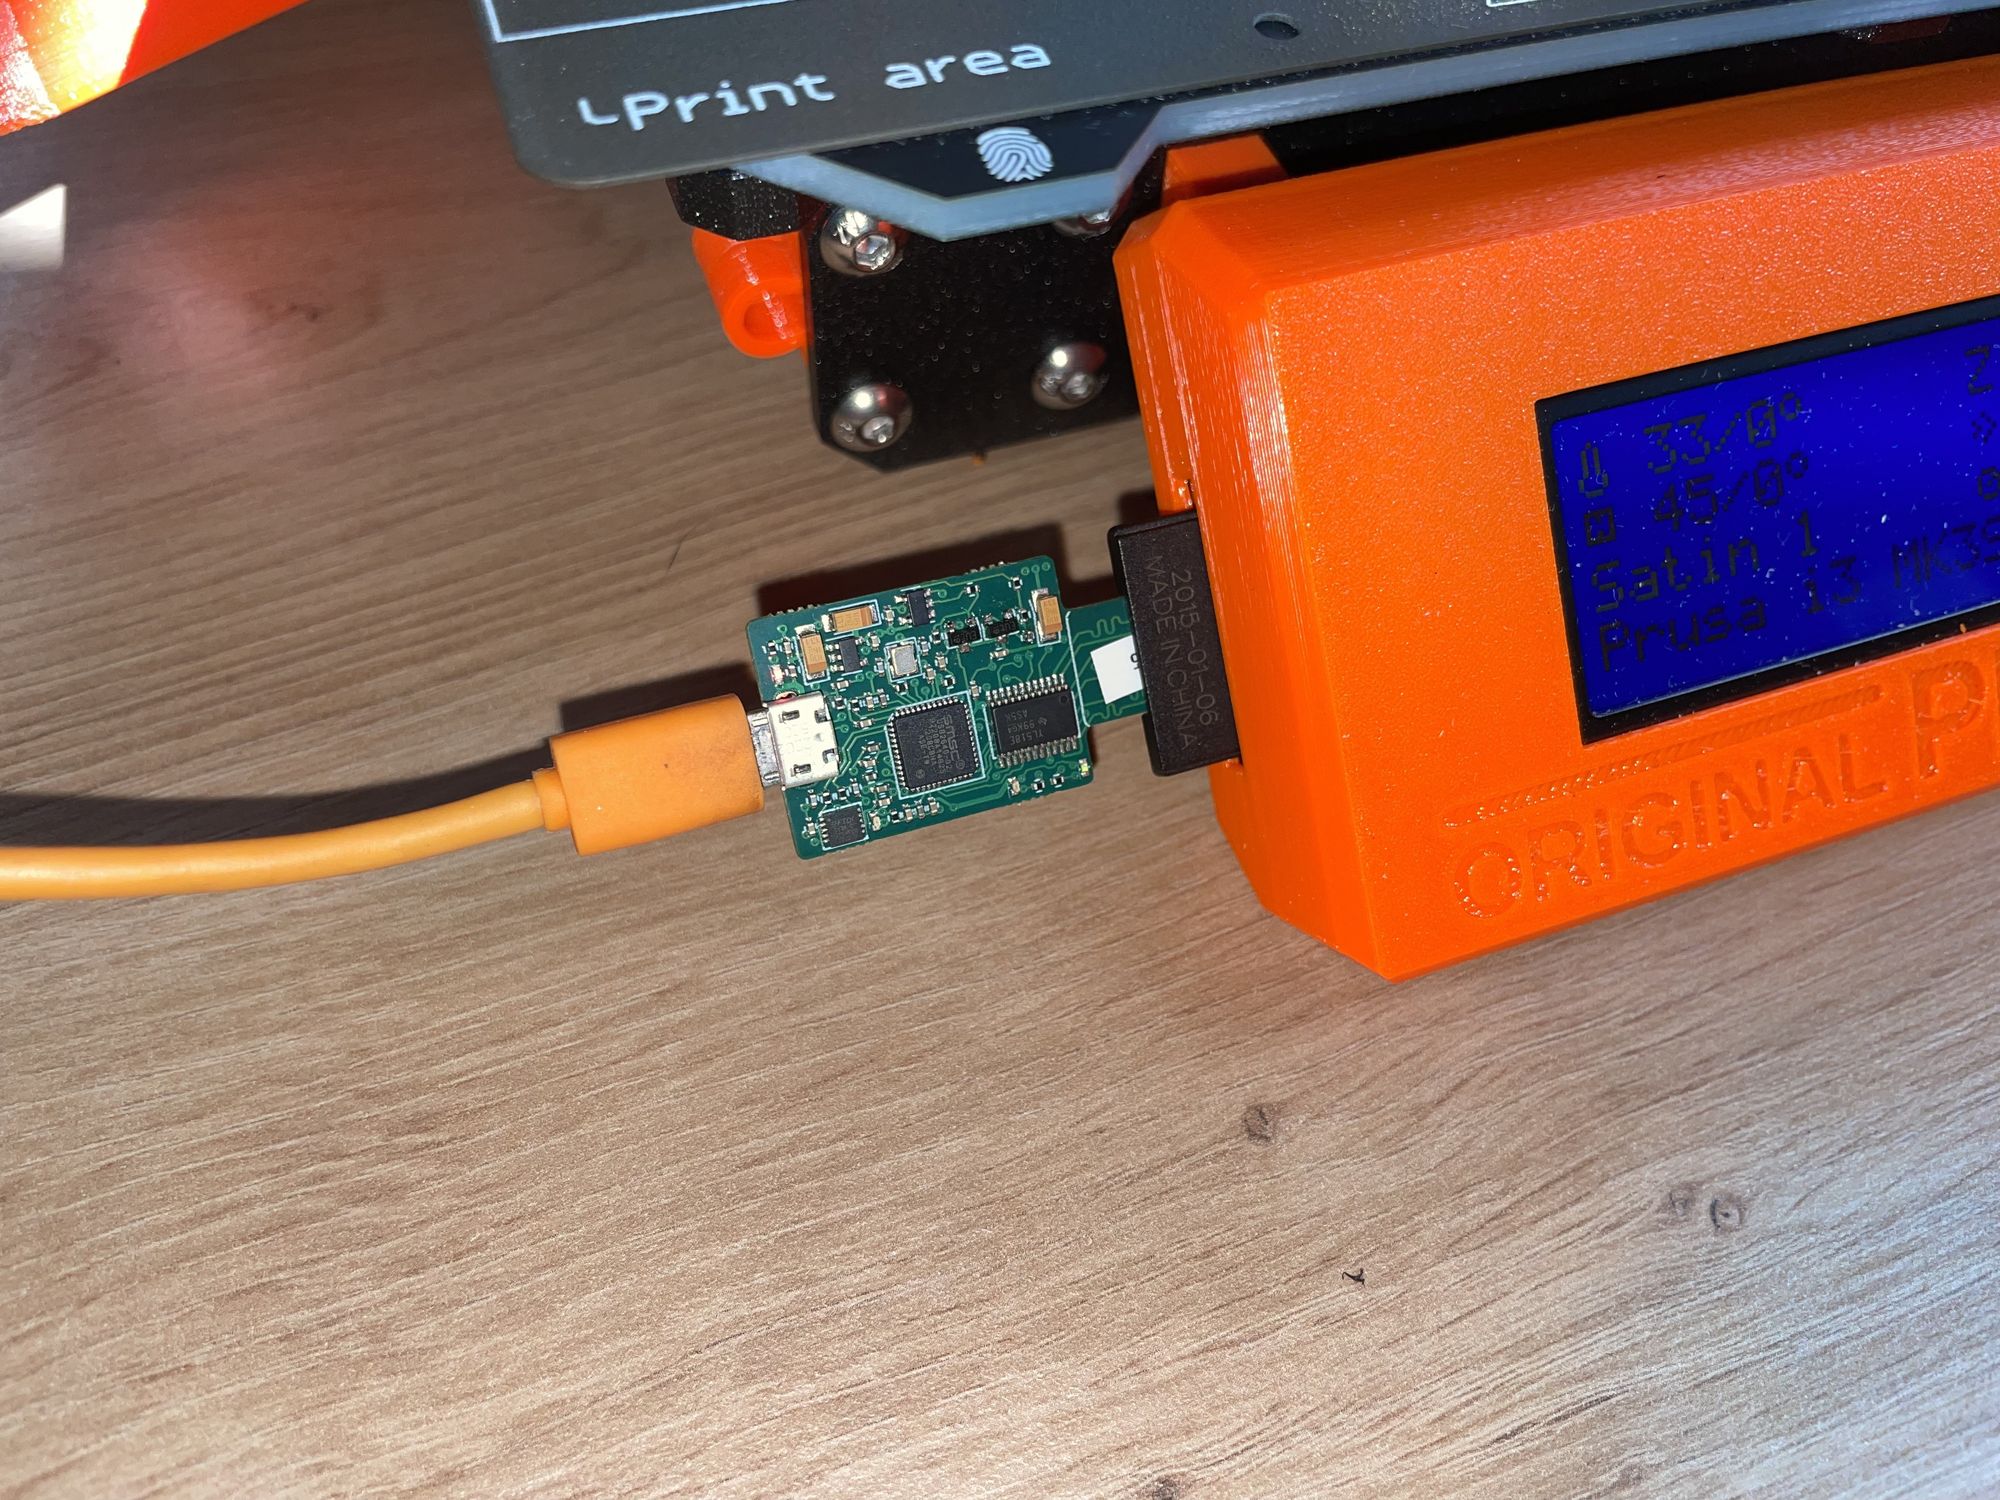
I desperately needed a Tizen SDWire board to automate smoke tests for PrintNanny OS, a Linux distribution I created to manage 3D printers using a Raspberry Pi. The SDWire board would allow me to re-image the Raspberry Pi's SD card (without physically removing the SD card from the Pi).
Unfortunately, SDWire boards were completely sold-out. Everywhere! I was willing to pay a huge markup for just one of these gosh-darn boards ... but no one could sell me one.
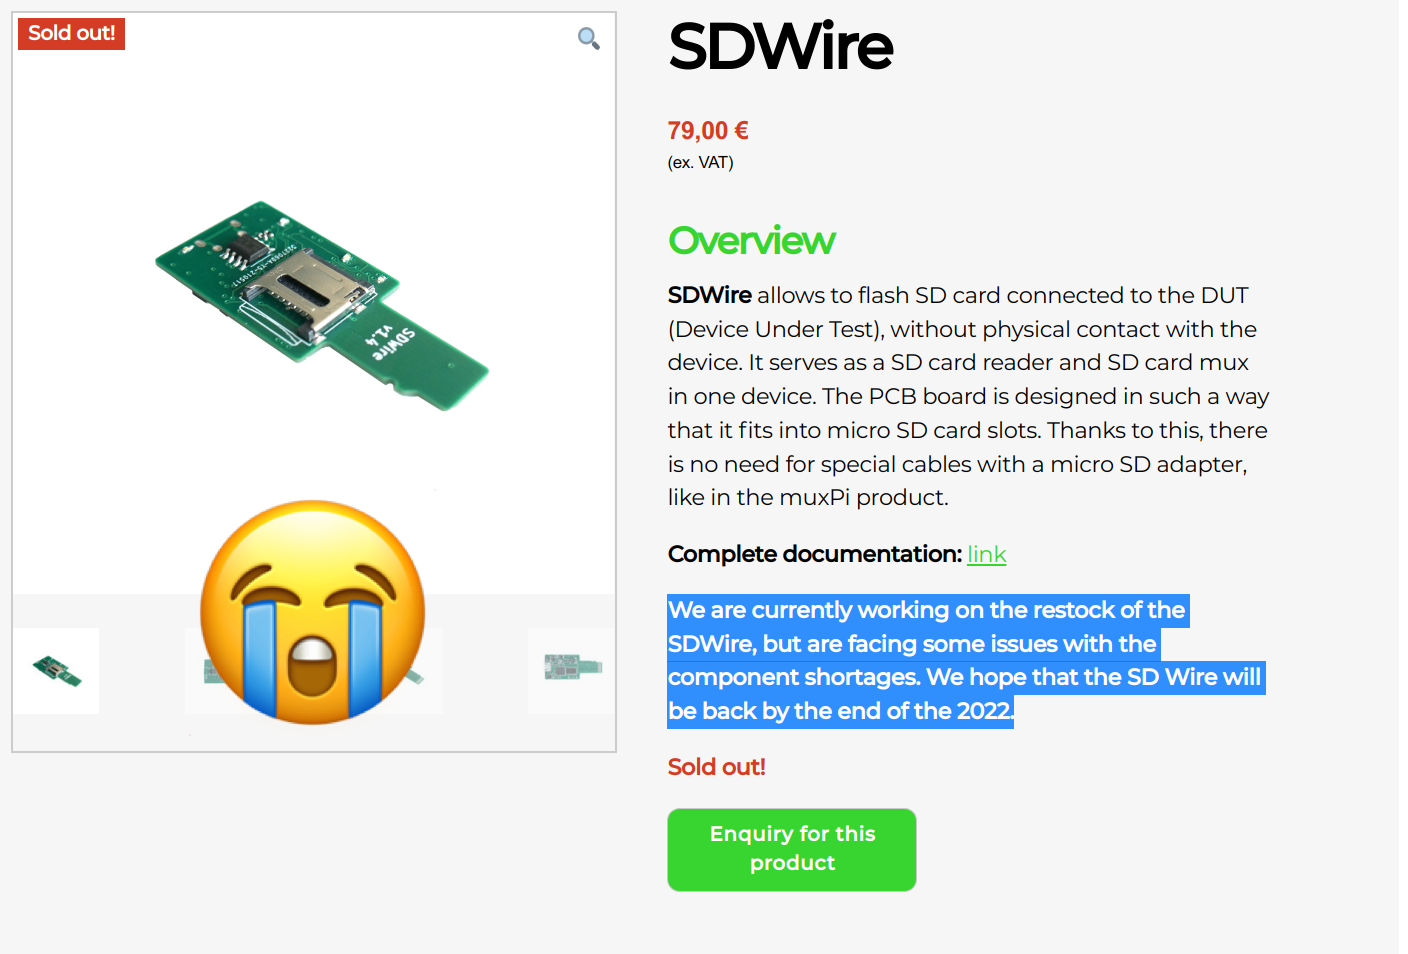

I was begging SDWire vendors to take my money, but due to component shortages, these vendors could not manufacture more boards. "Hopefully, we'll have stock by the end of 2022 or early 2023." was the response I received.
The SDWire PCB design is open-source, so surely some enterprising individuals would step up and meet the market demand...
Well, it turns out those enterprising individuals are me and my partner, Jason Zaman (@perfinion on Twitter). We're excited to announce that the PrintNanny SDWire board is available in the US and Canada!
Click to Pre-Order PrintNanny SDWire
Keep reading to learn what an SDWire board does and how Jason modified the PCB design to use readily-available components.

What does SDWire do?
SDWire's design is dead simple. The board fits a micro SD card slot, for example, the micro SD slot on a Raspberry Pi.
I use the SDWire board to "re-image" a Raspberry Pi over a USB connection instead of physically inserting/removing the SD card.
The board's main feature is a USB mux (multiplexer) with two modes:
- "Test server" mode, which allows you to write data to an SD card over a USB connection.
- "Device-under-test" or "DUT" mode, which allows another device (like Raspberry Pi) to read/write to the SD card.
Testing PrintNanny OS
I needed an SDWire board to test PrintNanny OS's system updater, which uses an A/B partition scheme similar to Android's. The "active" bit is set by the bootloader (U-Boot) in NAND memory. SDWire allows me to:
- Re-image an SD card (without physically removing/inserting the card into a Pi)
- Apply a system update, then verify the active partition was switched
- Simulate a failed system update (e.g. power failure) and verify the system rolls back cleanly.
Fast G-Code Transfer
If you have a 3D printer, you'll appreciate that SDWire can transfer g-code files directly to a 3D printer's SD card using a USB connection.
This method is more reliable than network-based g-code transfer and faster than copying g-code over a serial UART connection.
How much faster?
The OctoPrint-SDWire project shows an example using a 100MB .gcode file, which would take 10 hours to upload from Raspberry Pi to a 3D printer over a 115.2k serial UART connection.
With an SDWire, a 100MB g-code transfer completes in 14 seconds. 🔥
Click to Pre-Order PrintNanny SDWire
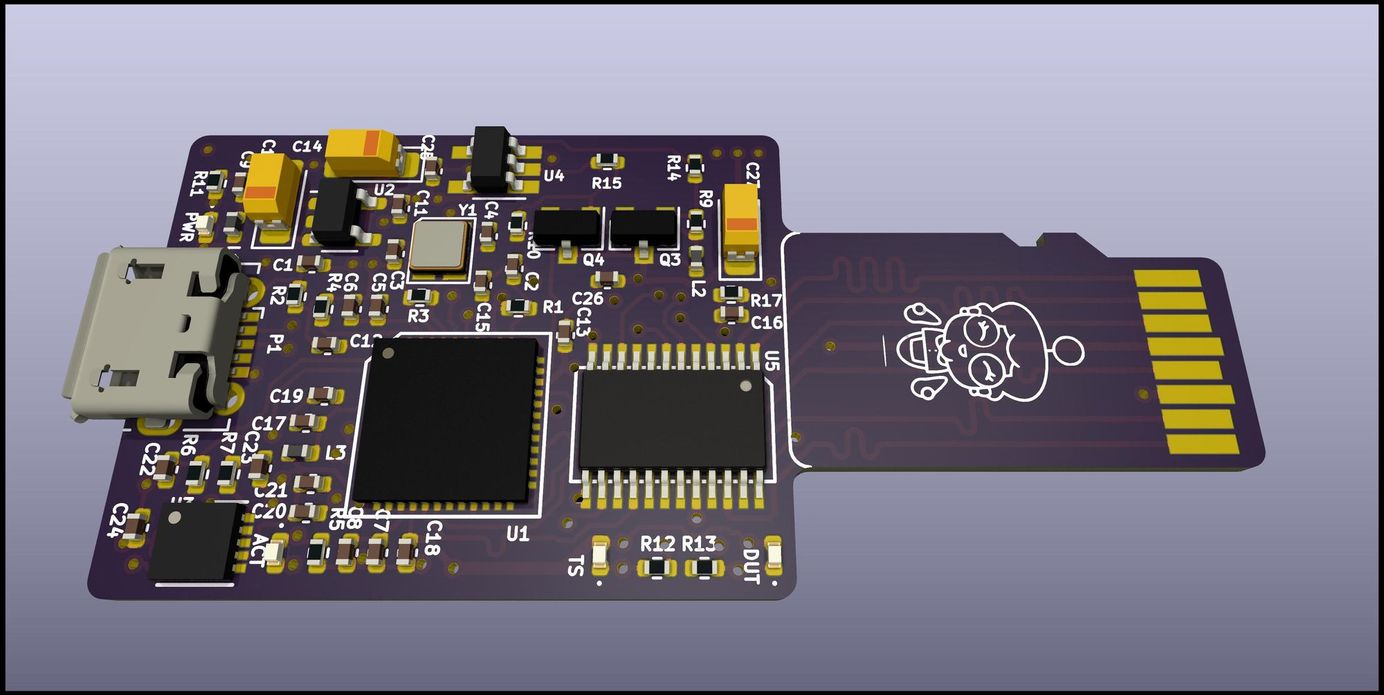
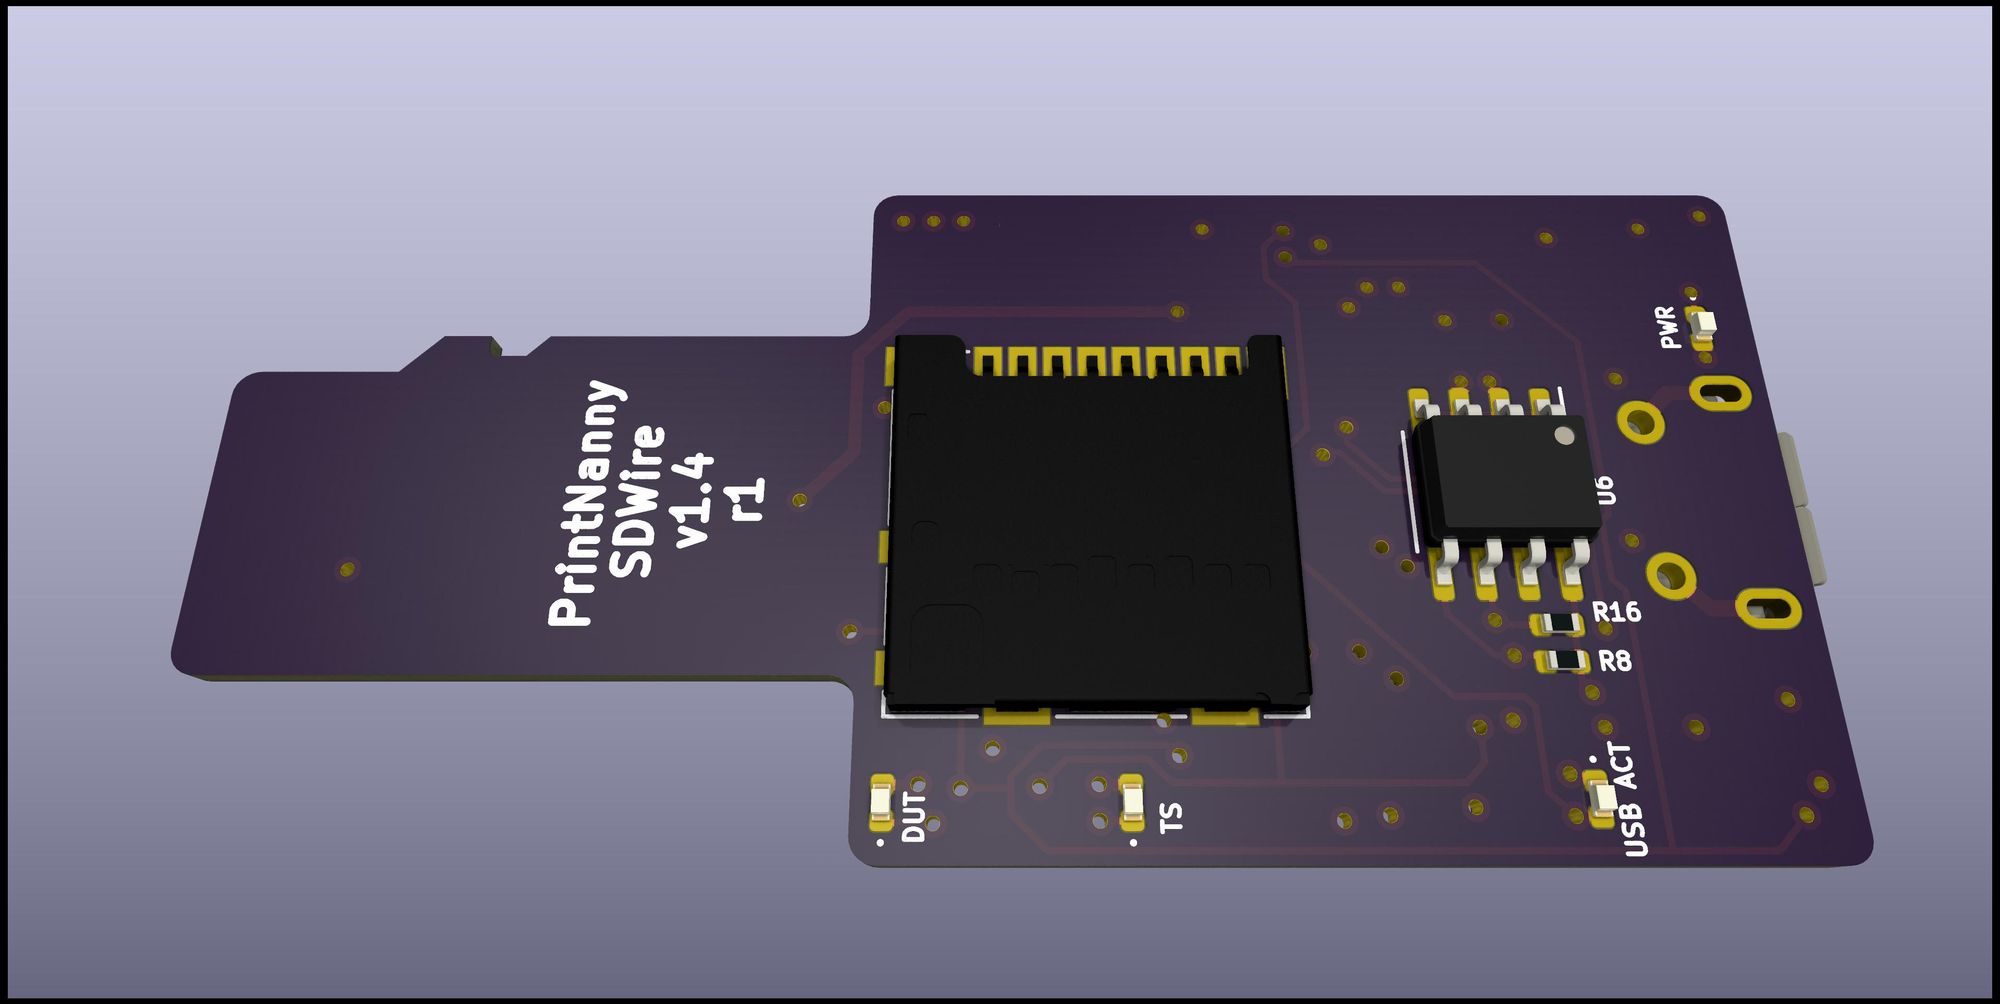
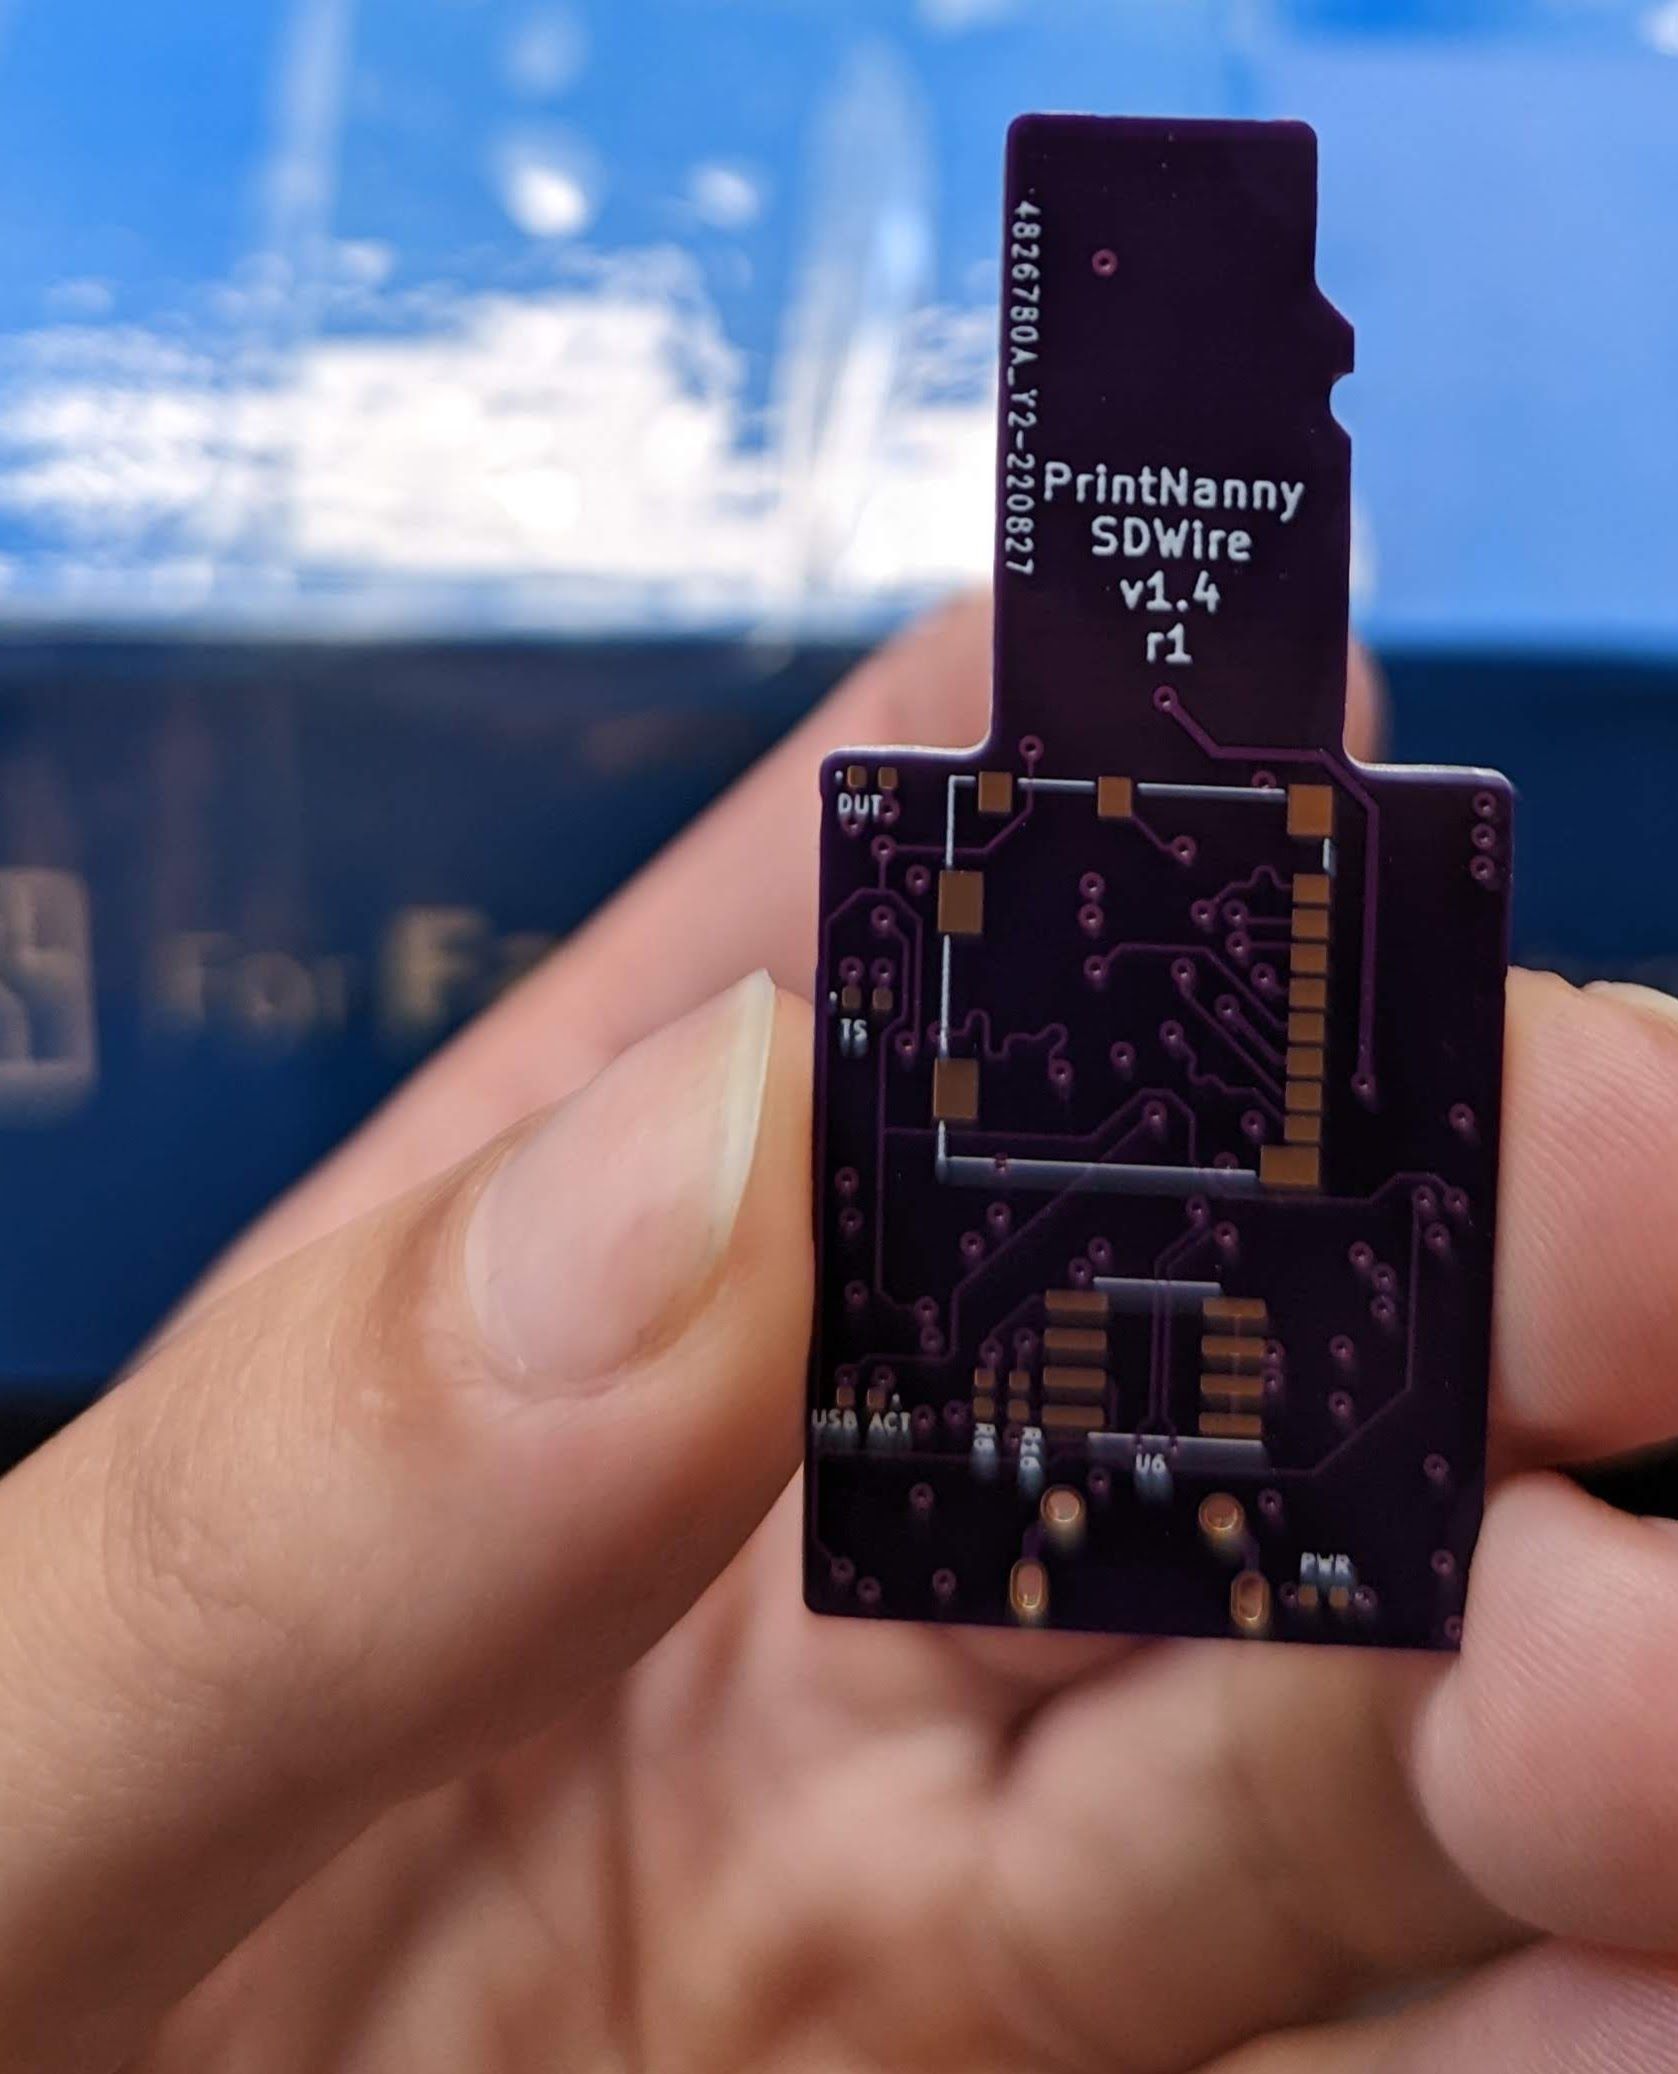
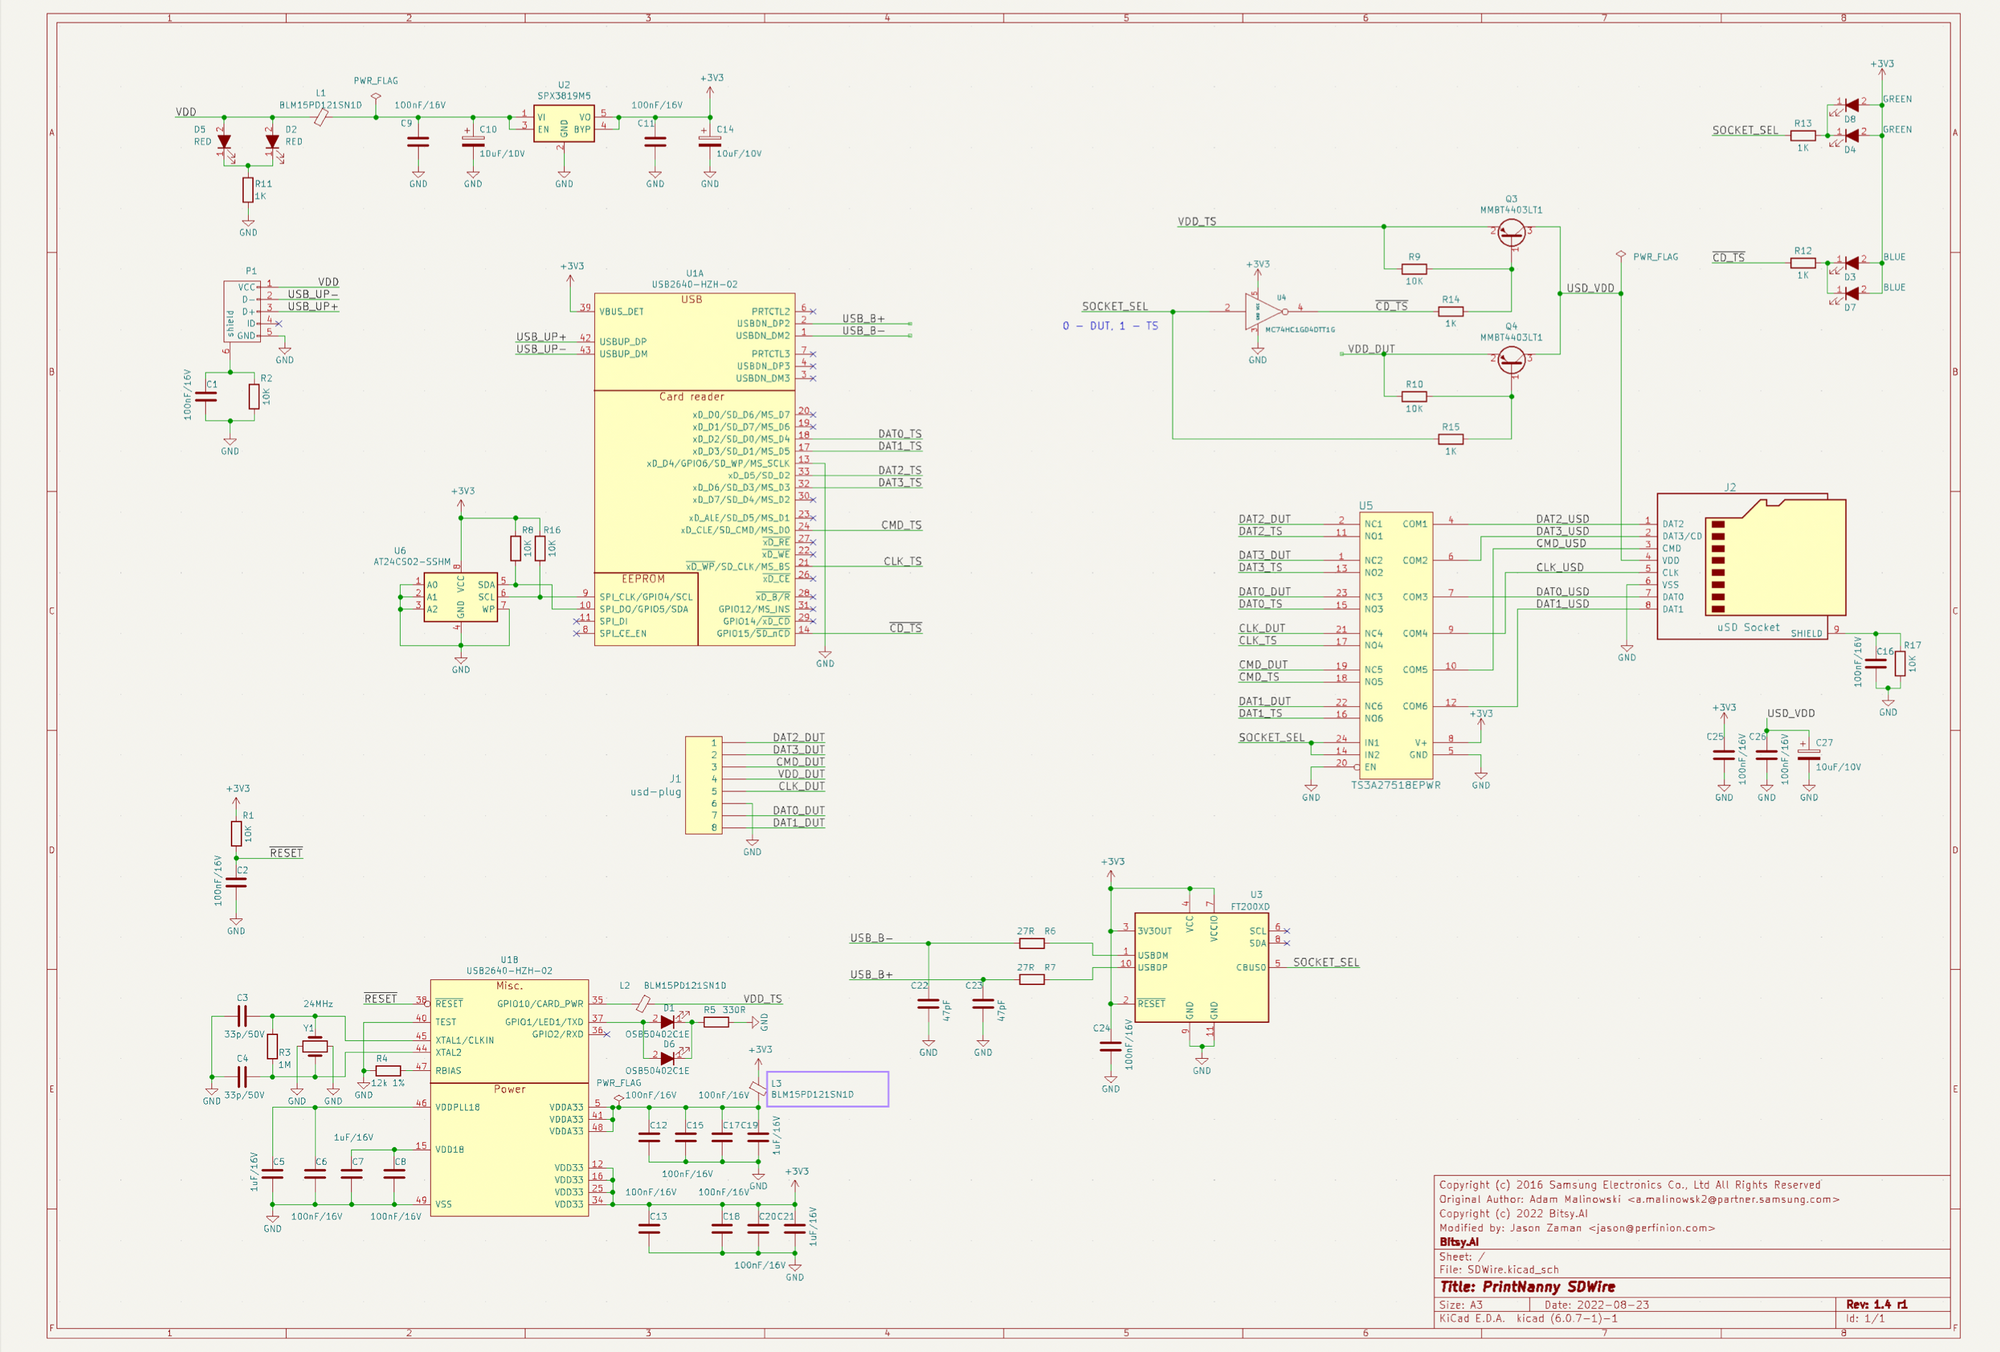
Revising SDWire PCB design
PrintNanny SDWire is a revision of Tizen's SDWire, with an updated bill-of-materials (BOM) designed for component availability in the US/Canadian markets.
PrintNanny's revisions to SDWire are available on Github.
Design Choices
A few years ago, it would've been straightforward to reproduce an open-source PCB design by sending the board's Gerber files (a type of layered export) directly to a manufacturer like jlcpcb.
In today's landscape of constrained electronics supply, even basic components in PCB designs are unavailable.
For example, the original SDWire design uses a 2KB EEPROM memory chip.
Texas Instruments components are more readily available in the current United States market than imported equivalents. However, Texas Instruments is not manufacturing 2KB EEPROM and imported 2KB stock is limited.
The PrintNanny SDWire redesign uses a Texas Instruments 4KB EEPROM instead. The 4KB EEPROM is used in automotive computers, so Texas Instruments will probably keep manufacturing these in 2023 and beyond.
However, these design choices impact the SDWire board's footprint.
Luckily, Jason majored in Electrical Engineering and Computer Science at Carnegie Mellon University. He patiently walked me through:
- Setting up KiCAD, a software suite for working with PCBs and electronics.
- Updating the SDWire schematic.
- Import American component libraries (DigiKey) and adjust footprints
- Export Gerber layer files and submit a jlcpcb order.
Ask the Electrical Engineer
I had never fab'd a PCB before, so I needed a lot of help to get this far!
I learned a ton about PCB board design from Jason, and we thought it'd be fun to collect reader questions and answer them in a follow-up blog post.
👇 Comment below with your questions about designing or revising a PCB.
Support Our Work
If you liked this post and want to see more open-source electrical engineering projects, you can support our work by:
- Subscribe to the Bitsy.ai Newsletter - it's free!
- Follow @grepLeigh and @perfinion on Twitter.
- Pre-Ordering PrintNanny SDWire.
Thanks for reading!

PrintNanny.ai Newsletter
Join the newsletter to receive the latest updates in your inbox.


